M1117 Guardian Armored Security Vehicle Build

History :
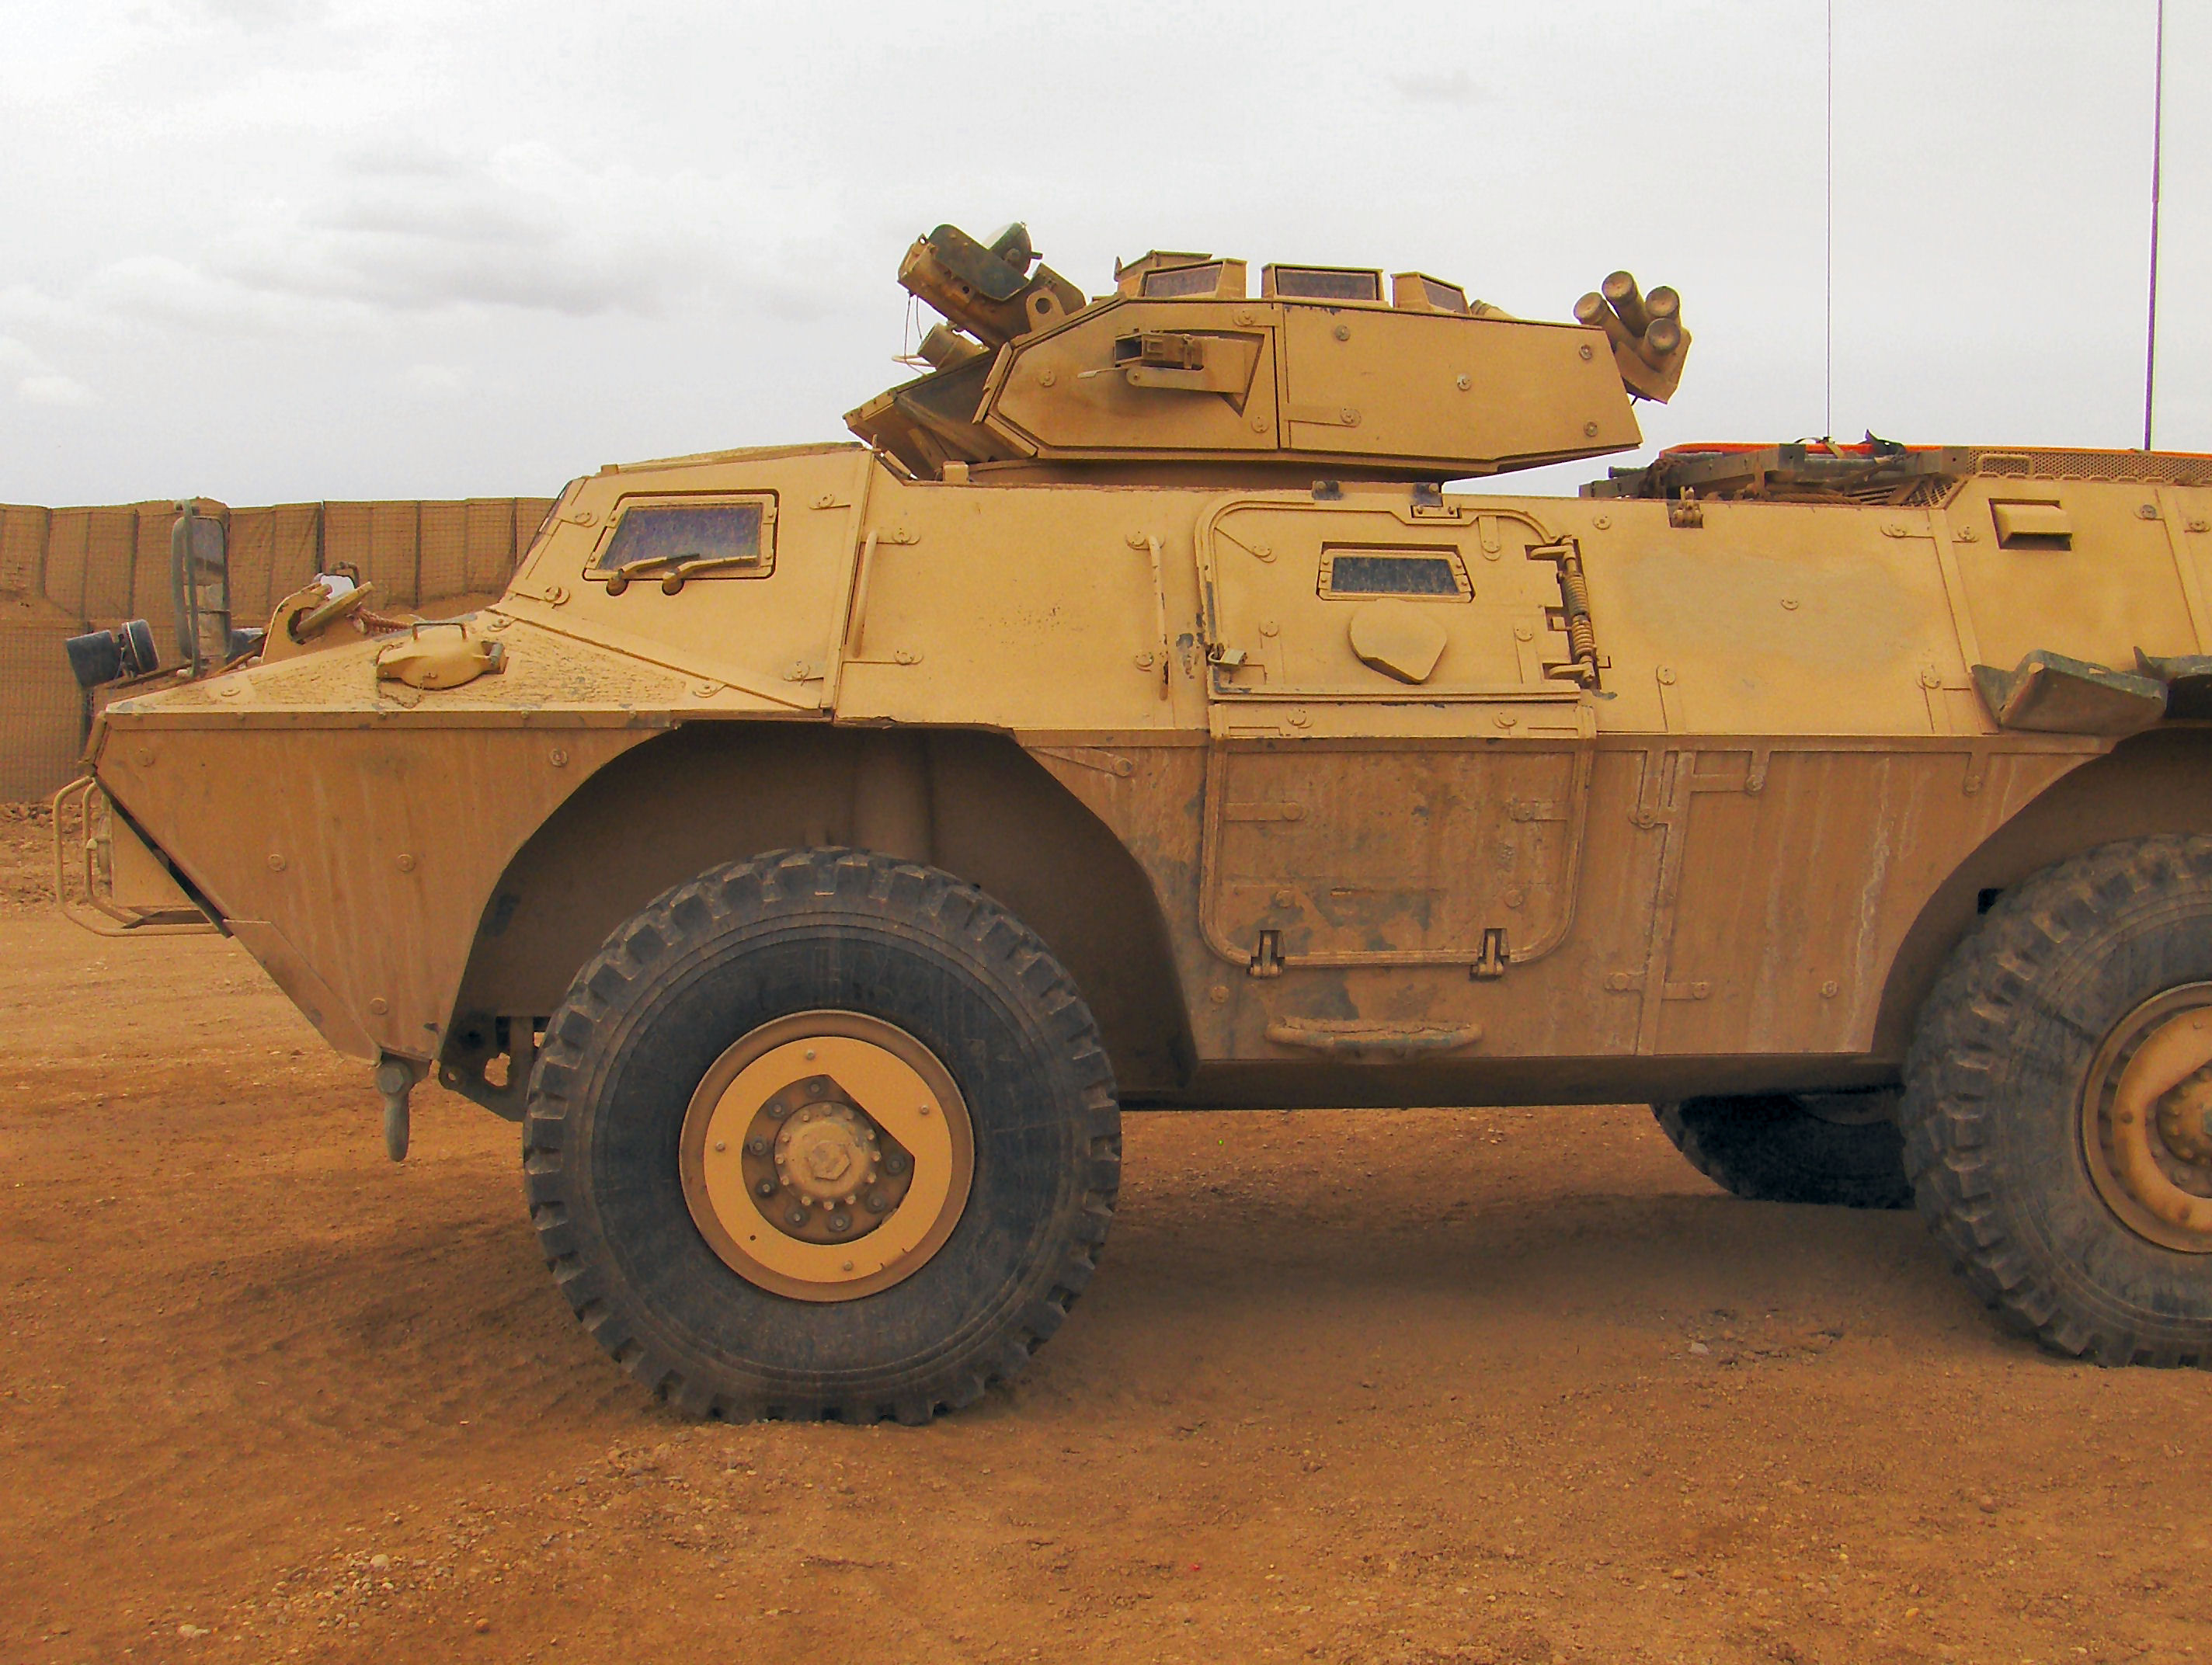
The M1117 Guardian Armored Security Vehicle, or ASV, is an internal security vehicle manufactured by Textron Marine & Land Systems for use by the U.S. Army’s Military Police Corps.
Its armament consists of an Mk 19 grenade launcher and M2HB Browning machine gun, mounted in a turret similar to that used on the U.S. Marine Corps’Amphibious Assault Vehicle; and a M240H Medium Machine Gun mounted outside the gunner’s hatch.
The vehicle has become very popular with American military police and convoy security units in Iraq.
It is a more heavily protected and heavily armed alternative to the armored Humvee which was not originally designed to be a protected fighting vehicle.
The Kit :
- 369 pieces in 7 plastic sprue, 4 vinyl rubber tires, 2 small frets of photo-etch.
- Good molding quality.
- Some small parts are a bit light in details.
- 12 page (6 pages front/back) instruction book.
- Color printed painting and marking guide.
For more, including sprues pictures see : M1117 Guardian ASV review on Armorama
This is my first Trumpeter model kit, and I don’t think it’s that great as read on internet, but it’s the only one representing the M1117 ASV.
Baldy molded, lack of details on some part, lack of correct alignement pins, be sure to check your documentation for the build.
Anti Slip surface is not that realistic, but it will be acceptable for the scale and i don’t found any good idea to improve it.
Build :
Step 1 :
Not done actually, bought some DEF Model Tyres
Step 2 :
Nothing really complicated for the transmission housings and suspension arms apart a lot of cleaning and the lack of alignment pins, PE parts will be glued after step 3.
The underside needed some filler, but I leaved it, it will be invisible there.
Step 3 & 4 :
Again lot of cleaning for the suspension springs and suspensions arms, to install them I first glued one part A21, then after drying time, the spring was very lightly glued to the other A21 part and glued to the arm.
The tiny A10 parts were glued first, then cleaned.
I did not glue the wheels, i prefer to complete the hull, then attach the suspension, and after that glue the wheel to ensure perfect alignment.
Step 5 & 6 :
Big preparation for the Legend Production M1117 upgrade set :
- Fill the holes in part C17,
- Clean the hull and part D37 & D47 of the tie-downs, fill, sand without removing the anti-slip surface.
- Remove the foot-boards on part B20 & B6
- Remove the things on the side of the hull near the door
Again, the alignment pins did not help a lot, and some of them needed trimming because they don’t fit and panels stay to far away from the hull.
The small plates or strips on the side were trimmed to fit and sanded because they are supposed to be only one piece bolted to the upper and lower part. I didn’t know how to say it well, but look at this picture (From the excellent PrimePortal website) to see what i’m trying to say.
To avoid my own error, glue part PE-A7 first and fill the holes, then install side panel.
Very time consuming step.

Step 7 :
Window panels are baldy molded, lot of cleaning, sanding needed.
Step 13 :
The entire turret sprue is badly molded (Flash, misaligned bore hole for M2, pannels edges not regular) as you can see in some of the pics, but fit overall is good and the turret parts will go together nicely.
I replaced the M2 barrel with a trimmed RB Model barrel and MK19 Grenade Launcher barrel was taken from my Bronco M1114 Kit.
Carefully check barrels alignement while gluing them to the support.

Reviews and Builds :
- M1117 Guardian ASV review on Armorama
- First look on CyberModeler
- Full Build
- Full Build on Armorama that I recommend and will use as a guideline
References:
- M117 ASV
- Illinois National Guard Unit M1117 ASV
- Toadman’s Tank Pictures, M1117 in Irak